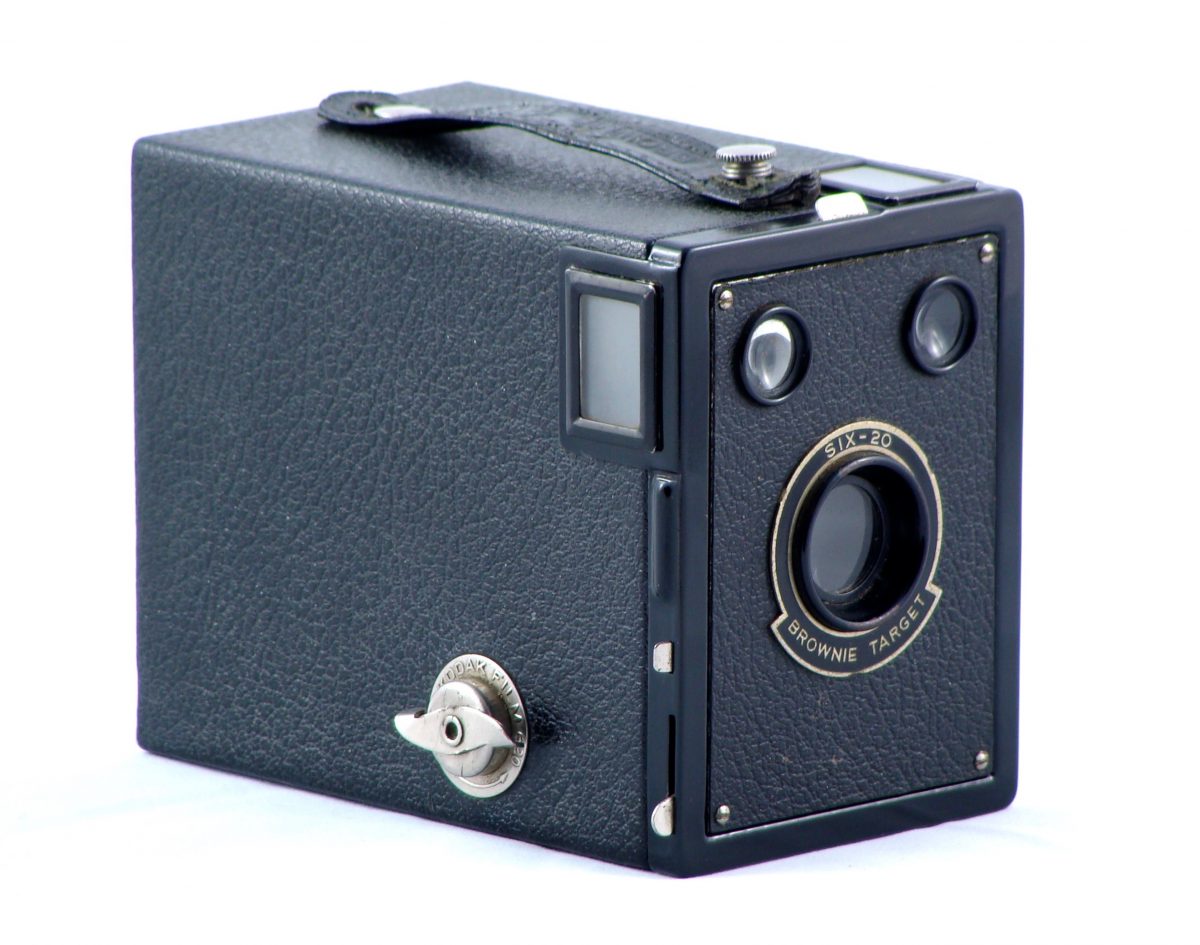
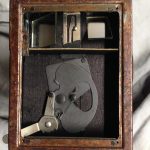
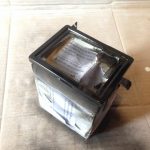
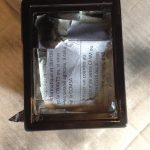
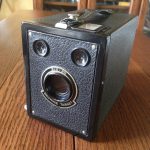
Found last year on a yard sale, this Kodak Six-20 Brownie Target box camera was in a very poor shape. At least the front face was, because everything else, mechanism, leatherette and handle, were still quite nice. Viewed from the front, multiple damages were visible: rust had gone through a great part of the metal frame, lifting almost all the black painting.

Was it reasonable to spend so much energy and time on a common box camera? Maybe not, but passion spoke. This has also been a good training exercise, without much at stake, that gave experience for next restorations to come on more valuable cameras.
Here is a step-by-step description of how I restored this Kodak box camera.
Disassembly
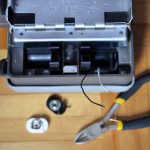
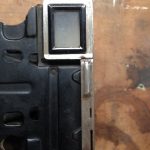
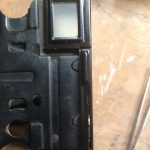
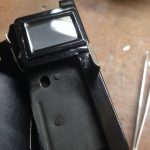
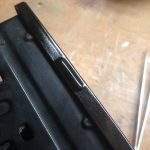
This box’s disassembly is limited to the removal of the front face plate, here covered with black leatherette. For your information, the manipulation will be similar on Kodak Six-20 Brownie Junior box cameras (with the art-deco faceplate). This plate is maintained in place by 4 screws, one in each corner (circled in red). It is also stuck in place by the time selection lever (circled in green).
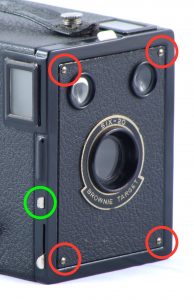
For its removal, I had to remove the 4 screws, then flatten the lever using two pliers and a protective cloth to avoid any sratch. This is actually more easy than it seems, and this method will work on many other Kodak boxes (e.g. the Beau Brownie).
Scraping
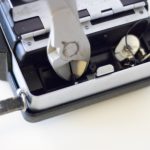
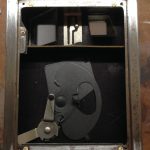
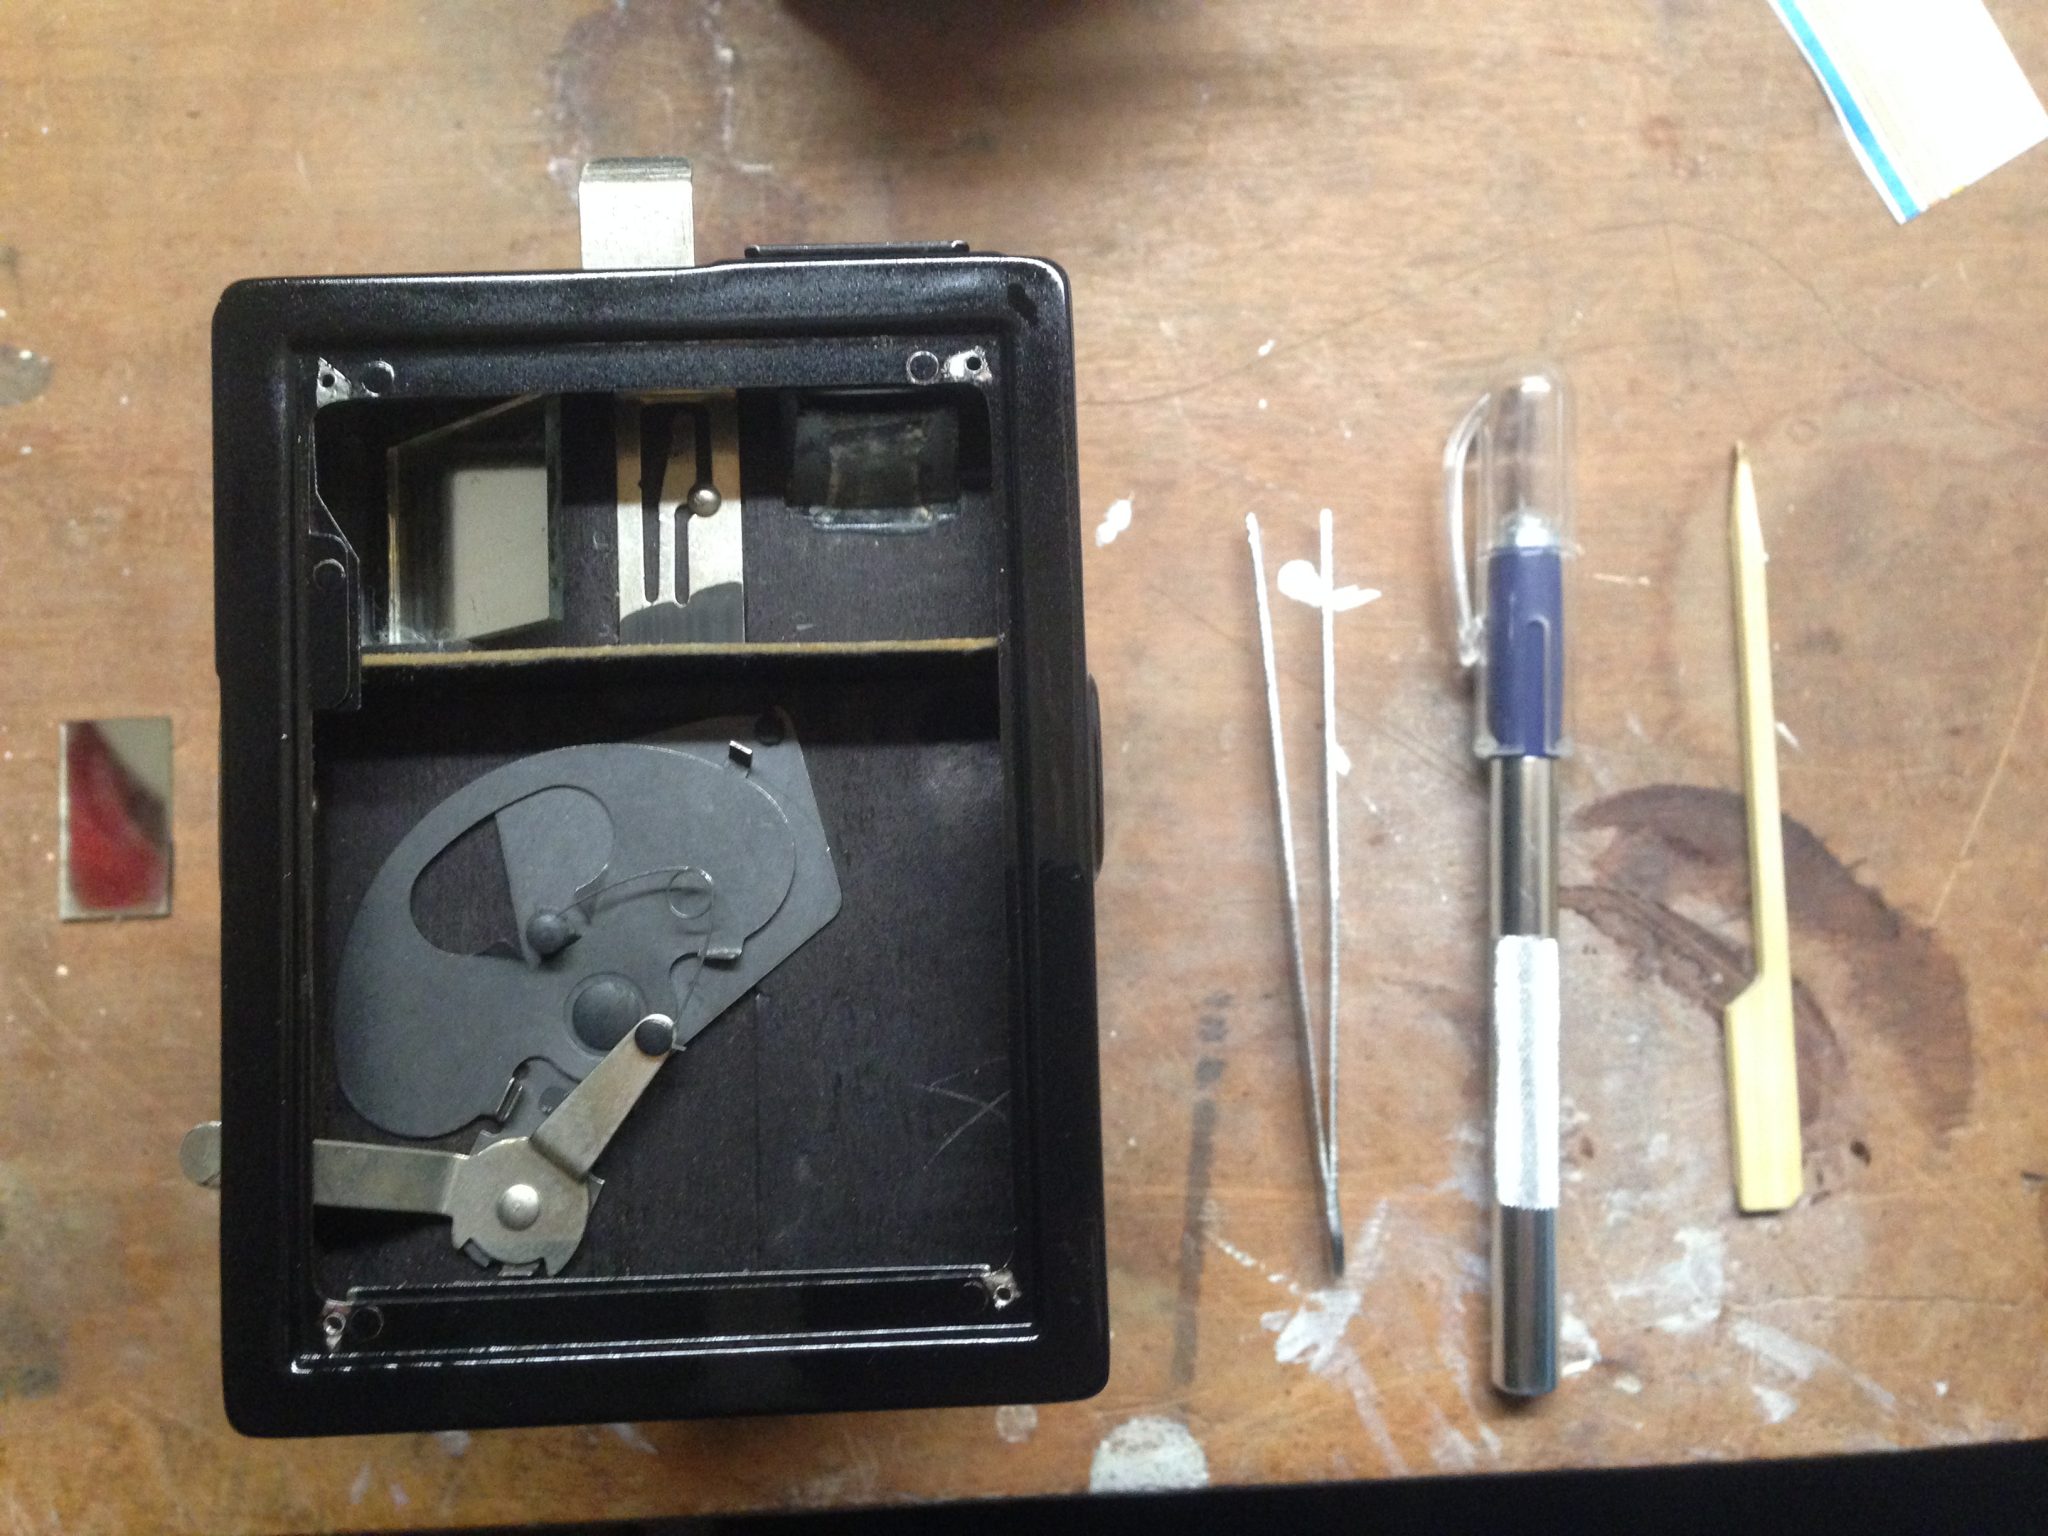
I got access to the entrails of our camera!
First operation: I had to remove all the residual black paint. I could not paint over it, that would have looked awful. On top of that, the new paint would have peeled off again quickly.
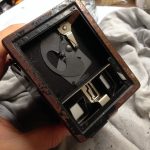
On my camera, the paint fell under the simple pressure of a wooden tool. You need patience here, and you’ll get rid of the most stubborn residues later when sanding.
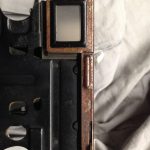
Note the edges of both viewfinders: I kept the original black paint here as it was still OK.
Sanding
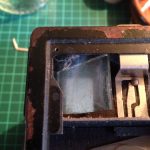
Once the old paint removed, it’s rust that had to be suppressed. Here, the corrosion was general but quite thin. A simple sheet of sandpaper, with fine grit (P180), was enough to get the underlying iron to show up again. In narrow places, I had to slide a folded part of sandpaper using a thin tool: a small screwdriver or a toothpick.
On larger areas, one could also work with steel wool. Be careful to wear gloves during the operation.
Cleaning
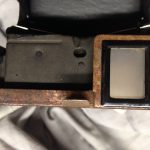
Time to clean the insides of the camera, especially mirrors and viewfinders. My own camera had a detached mirror I had to glue back once the painting done.
All the dust created during the sanding needed to be properly wiped and blown off to avoid trapping it under the new paint.
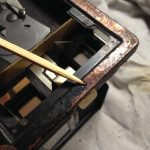
Preparation for painting
That’s the vital step! All the parts that we do not want painted over must be shielded, especially lenses, mirrors and viewfinders, or the camera will become unusable.
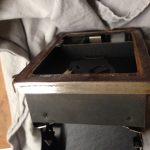
Of course, I worked only with the metal body of the camera, leaving the cardboard box aside.
To protect the remaining parts, I used masking tape of good quality. I cut down custom shapes to cover the levers and the viewfinders (ground glass and metal frame).
To protect larger areas, I used paper as a shield. A piece of letter paper masked the whole internal parts of the Brownie Target: shutter mechanism, lens, mirrors, etc., and other sheets masked the outside of the metal body.
Finally, I chose to cover the tiny screw threads: I guessed it better not to have to apply force on almost hundred years old screws during reassembly.
The longest part eventually done, I placed the camera on a large cardboard protection that would avoid spraying paint on my walls. Now the fun begins.
Painting
I chose glossy black spray paint to get a smooth finish. Take the time to test your paint spray before doing anything else. This way you’ll pre-stir the paint, you’ll test the spraying distance, you’ll check if the colour is correct, and you’ll notice any issue (like a defect nozzle stuck on pressed position, speaking from experience here!).
Application is usually made in several passes: different angles, and several coats. It’s usually difficult to find a way to place the camera on the ground and still access every part to paint, but in my case I only had to put the camera down on its back, and I turned around it with the spray.
You have to hold you can around 20 to 30cm from the area to paint, doing quick and regular strokes. Never ever spray more than a second on a same spot! Else it’s the dripping disaster guaranteed. 😮
Do only the required strokes to apply a first coat of paint on the whole area. Visible lacks of paint will be covered during the next 2nd, 3rd or even 4th passes.
Drying time between to coats of paint is at least one hour for the one I applied on this camera. Check your own paint drying requirements. And do not put down your fingers before letting the paint cure for at least 24 to 48 hours. The surface may look dry, but underneath it is still soft and you’ll leave your mark (literally).
Reassembly
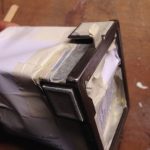
Once the paint had totally dried, I removed the masking tape by pulling at a 45° angle. This way it did not tear the paint work. You can use tweezers to remove small pieces. Avoid larger cutters that’d slip and scratch your nice new paint.
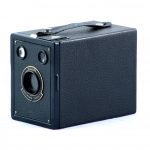
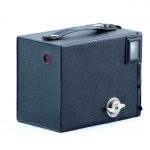
Reassembly is easy, I followed the assembly steps backwards: inserted the timing lever back in its slit, put the faceplate in position and placed the screws, then gave the lever its original shape back using the same pliers. I closed the back of the camera. And I finally took a satisfied look at my near mint Kodak Six-20 Brownie Target camera!


Conclusion
Some feedback in conclusion:
- This restoration happened several month ago already. I needed to check if the paint is resilient, and it is. I’m really happy with the result!
- What I would not do again: put my fingers on the fresh paint! I’m the only one to see the defect, but it’s the first thing I see every time I look at my work… 🙁
- What I would do again: spray paint is the right choice, and I’ll try a matte version for my next camera work.
If you have advice to complete this guide, or questions before doing your own restoration, do not hesitate and leave a comment or contact me directly on BlueSky or Instagram.