A camera – the Kodak Instamatic 500

There are some photographic experiences that have become so uncommon that they always call to be shared. The use of a camera like the Kodak Instamatic 500 is one of them.

No unusual adventure led me to this camera discovery. It already has a solid reputation (I also mentioned it in one of my first articles, in french but still accurate, about the 5 best vintage cameras to start your collection🇫🇷). My camera has been generously offered by a visitor on collection-appareils.fr forums.

Introduction

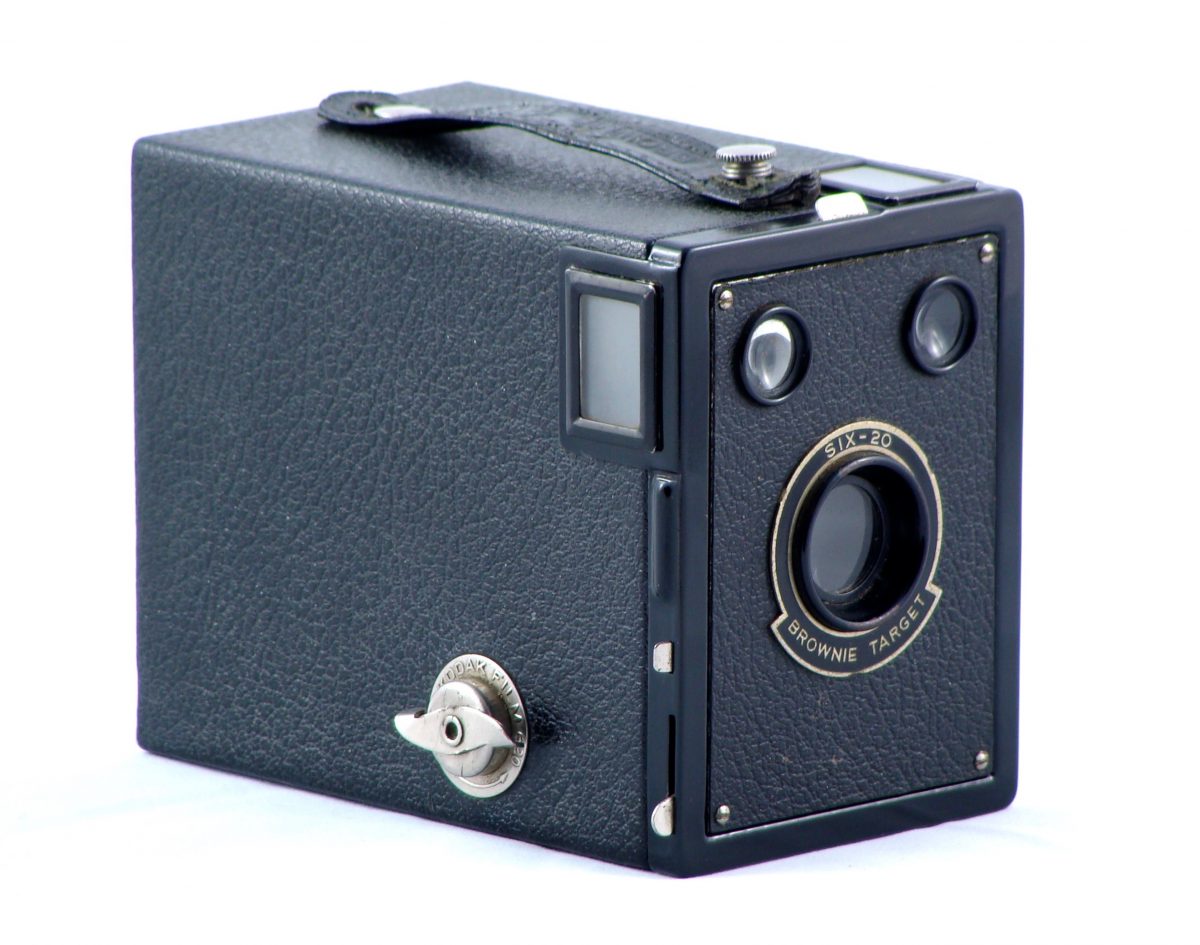
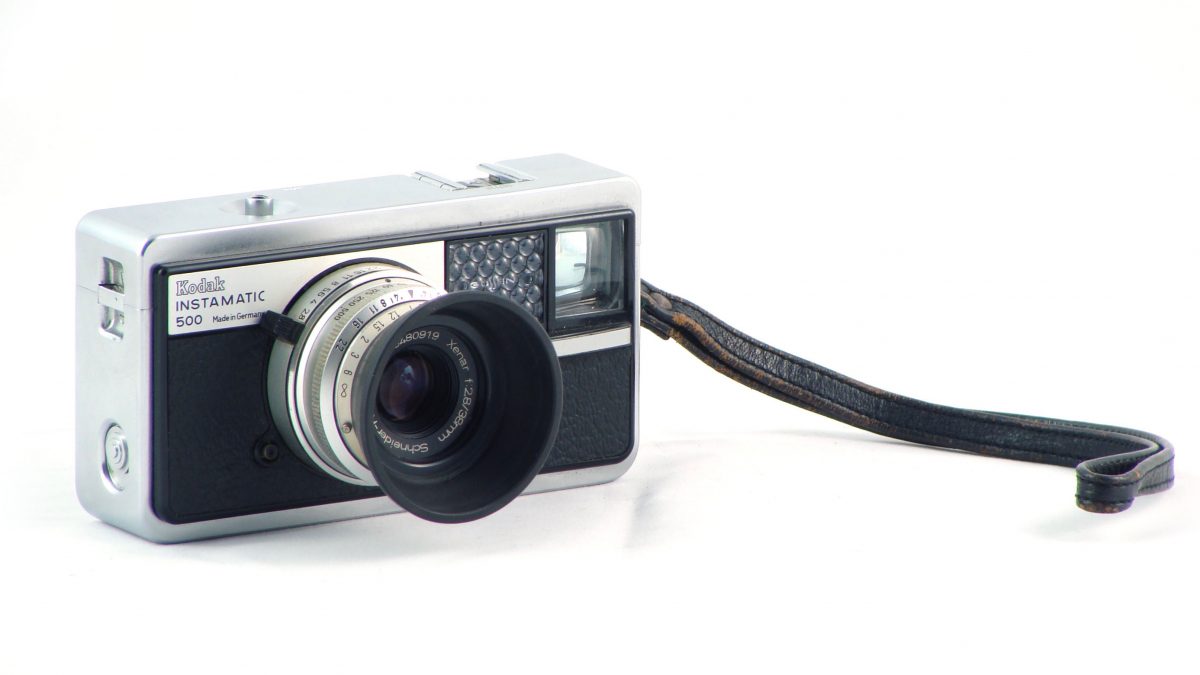
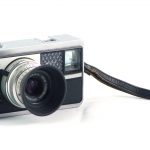
The Kodak Instamatic 500 is a camera that inherited the compactness of the Instamatic line: 12.7cm width and 7cm high, and thickness from 5cm to 6cm with the lens in or out of the body.

Top of the Instamatic range, made from 1963 (year my specimen was made if I can trust the serial number) to 1966, it is mounted with a bright Schneider Kreuznach Xenar 38mm f/2.8 lens. It is a Tessar-like formula using 4 lenses in 3 groups that, as we’ll see later, give very nice results with color film.

The shutter is also very capable: it goes as fast as 1/500th of a sec. There is no slow speed below 1/30th of a sec, but it provides Bulb speed.

Focusing is manual and gets as close as 70cm. Unfortunately, no rangefinder is provided, you’ll have to guess the distances.

Luckily, the addition of a lightmeter, coupled to the shutter speeds and aperture selection, makes up for the lack of focusing assistance. And not any lightmeter: this is a Gossen cell, proudly wearing its name on the front of the camera. But beware: you won’t find any sensibility selection on the Instamatic 500 body.

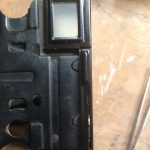
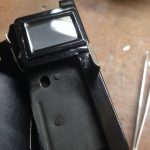
The viewfinder is very bright, and displays parallax correction marks, as well as the lightmeter needle – visible as soon as you get your eye close enough. Nice bonus: the lightmeter indications provide +1 an -1 exposure compensation markings!

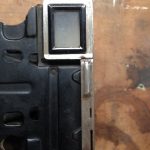
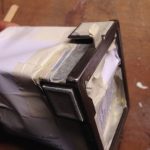
The shutter button is threaded to receive a cable release, and finally a push button below the camera’s foot unlocks the front lens that can be pushed in for transport. When in, a simple push on the button and the lens pops out, ready to shoot!

Handling is also eased by the shape of the camera: although compact, it provides large surfaces where to put your fingers to safely hold it tight. A plastic barrier keeps the photographer from hiding the cell or the viewfinder. Too bad though, that there is no reminder of the selected speed or aperture, space is not an issue in the viewfinder.

Finally, the beast has a weight: 700g, far from the other Instamatic cheap plastic cousins.

The 126 problem

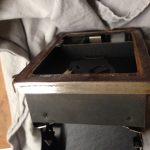
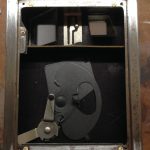
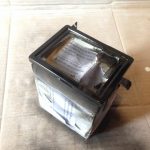
All these dream specs do hide an issue: the Instamatic 500 uses 126 type film cartridges that are not manufactured any more.

To those unfamiliar with this format, they are small plastic boxes that you only have to put inside the camera, no manipulation needed. Alas they were ousted by the more common 135 format we know. Today, possibilities are limited.

The “Fakmatic” enables to load standard perforated 35mm film in a reusable cartridge, but you have to be good with your hands and you need to handle it in total darkness (either in a dark room or a film changing bag). Moreover, you’ll have to deal with the film sprocket holes that will populate the top of your pictures. Finally, the Instamatic won’t let you select film sensibility, so I’m not certain how it will perform with this cartridge.

There is still hope that 126 film will eventually be produced again, via the rebirth of Ferrania, or via a french project named Project126. But nothing immediate.

So, my camera sat on a shelf for some time. But one day my Twitter feed slipped a proposal.

…and I did not hesitate! Expired in October 2004, this cartridge had luckily kept all its quality and let me use my Instamatic 500 at its full potential.

And the results are up to my expectations! I used an accessory rangefinder to use the lens to its widest aperture, and the image quality is excellent.

Do not hesitate to ask in the comments if you have questions about the Kodak Instamatic 500, and please share your pictures shot using this camera with me on Instagram. Have fun !

More info

I wrote a little side article about usage and some repair tips for the Instamatic 500, go and have a look.

Usage and repair notes for Instamatic 500

Aside from my article where I discover the Kodak Instamatic 500, here are some side notes about its usage and repair.

Indeed, information for disassembly or adjustment of the Instamatic 500 is very scarce, and I thought it might help to write about some things I found useful.

Sensibility setting

The Instamatic 500 camera has no on-body sensibility setting. There is, however, a mechanical sensor that recognize a shape on the top of film cartridges corresponding to the film sensibility.

I did not find any documentation about this sensor position and you’ll have to trust your old cartridges for film sensibility indication.

Light seals

Note that, as for any 126 film camera,  the Instamatic 500 does not require any particular light seal attention: there are none. The film cartridge itself ensures light-tightness. But beware if using 35mm film in a reused cartridge: the back side window will let light through so don’t forget backing paper.

Plastic face fastening

The plastic facade of the Instamatic 500 tends to loosen with time: it is because the tightening screws are made of brass and are subject to corrosion.

These screws are found below the leatherette, the latter being very easy to unglue, and even more sometimes still correctly glues itself back in place. Just use a fine cutter blade to lift one corner, then gently pull up the leatherette pieces. The screws below are made of blackened brass, you can clean them and screw them back in place without applying too much force.

I did not push further but logic would have that removing all these screws, then the plastic faceplates, would get access to the cameras guts.

Lightmeter adjustment

If you strip your Instamatic 500, you will also find below the viewfinder a small metal cover hiding what seems to be the lightmeter adjustment mechanism. I did not mess with this myself, my lightmeter was just fine, and I am not sure how this works but in case you need to adjust yours, you’ll probably want to start looking this way.

Easily advancing 135 film

The main issue when using standard 135 film in an Instamatic camera is about correctly advancing the film. In 126 film, there is a hole that helps the camera to discover the correct position between each frames. With the Instamatic 500, there is a trick to advance the film just to the right amount, and without the need to shoot intermediate black pictures.

With 35mm perforated film, after a shot, you can then maintain the shutter release while in the same time maneuvering  the cocking lever: the latter will continue till the end of its course without stopping. Release the shutter release and, if needed, apply a final short stroke to the lever: you’ll be ready to shoot the next frame.

This is poor information, but I find it being a whole lot more that I have myself found online. If you have more precise questions, don’t be afraid to ask in the comments, I’ll sure take some time to have a closer look at my own cameras.

Restore paint on a Kodak Six-20 Brownie Target box camera

Found last year on a yard sale, this Kodak Six-20 Brownie Target box camera was in a very poor shape. At least the front face was, because everything else, mechanism, leatherette and handle, were still quite nice. Viewed from the front, multiple damages were visible: rust had gone through a great part of the metal frame, lifting almost all the black painting.

Initial state of the camera. – Avon – Ilford HP5

Was it reasonable to spend so much energy and time on a common box camera? Maybe not, but passion spoke. This has also been a good training exercise, without much at stake, that gave experience for next restorations to come on more valuable cameras.

Here is a step-by-step description of how I restored this Kodak box camera.

Disassembly

This box’s disassembly is limited to the removal of the front face plate, here covered with black leatherette. For your information, the manipulation will be similar on Kodak Six-20 Brownie Junior box cameras (with the art-deco faceplate). This plate is maintained in place by 4 screws, one in each corner (circled in red). It is also stuck in place by the time selection lever (circled in green).

Disassembly notes

For its removal, I had to remove the 4 screws, then flatten the lever using two pliers and a protective cloth to avoid any sratch. This is actually more easy than it seems, and this method will work on many other Kodak boxes (e.g. the Beau Brownie).

Scraping

I got access to the entrails of our camera!

First operation: I had to remove all the residual black paint. I could not paint over it, that would have looked awful. On top of that, the new paint would have peeled off again quickly.

On my camera, the paint fell under the simple pressure of a wooden tool. You need patience here, and you’ll get rid of the most stubborn residues later when sanding.

Note the edges of both viewfinders: I kept the original black paint here as it was still OK.

Sanding

Once the old paint removed, it’s rust that had to be suppressed. Here, the corrosion was general but quite thin. A simple sheet of sandpaper, with fine grit (P180), was enough to get the underlying iron to show up again. In narrow places, I had to slide a folded part of sandpaper using a thin tool: a small screwdriver or a toothpick.

On larger areas, one could also work with steel wool. Be careful to wear gloves during the operation.

Cleaning

Time to clean the insides of the camera, especially mirrors and viewfinders. My own camera had a detached mirror I had to glue back once the painting done.

All the dust created during the sanding needed to be properly wiped and blown off to avoid trapping it under the new paint.

Preparation for painting

That’s the vital step! All the parts that we do not want painted over must be shielded, especially lenses, mirrors and viewfinders, or the camera will become unusable.

Of course, I worked only with the metal body of the camera, leaving the cardboard box aside.

To protect the remaining parts, I used masking tape of good quality. I cut down custom shapes to cover the levers and the viewfinders (ground glass and metal frame).

To protect larger areas, I used paper as a shield. A piece of letter paper masked the whole internal parts of the Brownie Target: shutter mechanism, lens, mirrors, etc., and other sheets masked the outside of the metal body.

Finally, I chose to cover the tiny screw threads: I guessed it better not to have to apply force on almost hundred years old screws during reassembly.

The longest part eventually done, I placed the camera on a large cardboard protection that would avoid spraying paint on my walls. Now the fun begins.

Painting

I chose glossy black spray paint to get a smooth finish. Take the time to test your paint spray before doing anything else. This way you’ll pre-stir the paint, you’ll test the spraying distance, you’ll check if the colour is correct, and you’ll notice any issue (like a defect nozzle stuck on pressed position, speaking from experience here!).

Application is usually made in several passes: different angles, and several coats. It’s usually difficult to find a way to place the camera on the ground and still access every part to paint, but in my case I only had to put the camera down on its back, and I turned around it with the spray.

You have to hold you can around 20 to 30cm from the area to paint, doing quick and regular strokes. Never ever spray more than a second on a same spot! Else it’s the dripping disaster guaranteed. 😮

Do only the required strokes to apply a first coat of paint on the whole area. Visible lacks of paint will be covered during the next 2nd, 3rd or even 4th passes.

Drying time between to coats of paint is at least one hour for the one I applied on this camera. Check your own paint drying requirements. And do not put down your fingers before letting the paint cure for at least 24 to 48 hours. The surface may look dry, but underneath it is still soft and you’ll leave your mark (literally).

Reassembly

Once the paint had totally dried, I removed the masking tape by pulling at a 45° angle. This way it did not tear the paint work. You can use tweezers to remove small pieces. Avoid larger cutters that’d slip and scratch your nice new paint.

48 hours later, here are the tools to remove the masking tape. Be careful not to use cutters on fragile fresh paint or lenses.

Reassembly is easy, I followed the assembly steps backwards: inserted the timing lever back in its slit, put the faceplate in position and placed the screws, then gave the lever its original shape back using the same pliers. I closed the back of the camera. And I finally took a satisfied look at my near mint Kodak Six-20 Brownie Target camera!

Conclusion

Some feedback in conclusion:

  • This restoration happened several month ago already. I needed to check if the paint is resilient, and it is. I’m really happy with the result!
  • What I would not do again: put my fingers on the fresh paint! I’m the only one to see the defect, but it’s the first thing I see every time I look at my work… 🙁
  • What I would do again: spray paint is the right choice, and I’ll try a matte version for my next camera work.

If you have advice to complete this guide, or questions before doing your own restoration, do not hesitate and leave a comment or contact me directly on Twitter or Instagram.

A Camera – The Kodak Beau Brownie

Hello English-speaking readers! I’ll showcase some of my favorite cameras in these articles, whether they are technically, esthetically or even historically worth of mentioning. First of them: the Kodak Beau Brownie. This is a (manual) translation of my original blog post in french.

Introduction

Most simple doublet lens optics, a large choice of two apertures around f/11 and f/16, a unique shutter speed approaching 1/50th of a second, plus timed exposure capability. These mind-blowing specs are those of the Kodak Beau Brownie series. Let’s be honest, I won’t write about technical revolution today.

On the contrary, the Beau Brownies were as simple as any box camera when they were released in 1930.

They were, however, part of a list of cameras conceived starting around 1927 by the american designer Walter D. Teague. One can have an idea of his work by browsing Teague’s patents list in this field.

Walter Teague had a challenge to take up: turn a big bloated soap box into a luxurious and attractive item. And he did! He drew a most appealing Art Déco front face. Geometry and colors, lined with chrome on an enameled faceplate. The leatherette covers a wood, cardboard and metal made body, and takes a similar tone as the facade.

Beau Brownie Patent
N°2A Beau Brownie design by W. Teague – click to access the original patent

The series consist in two models, N°2 & N°2A, corresponding to image formats 6x9cm and 6.5x11cm respectively. The two models thus differ by their size, N°2A being a bit taller.

But mainly, this camera wore magnificent colors, the most frequent association being black & burgundy.

Four other wonderful but more rare coats were blue turquoise, pastel pink, aqua or tanned brown.

Some pictures

I am the happy owner of a black & burgundy model in perfect shape, near mint, as well as a blue model showing more signs of wear. Here are some pictures.

More info